
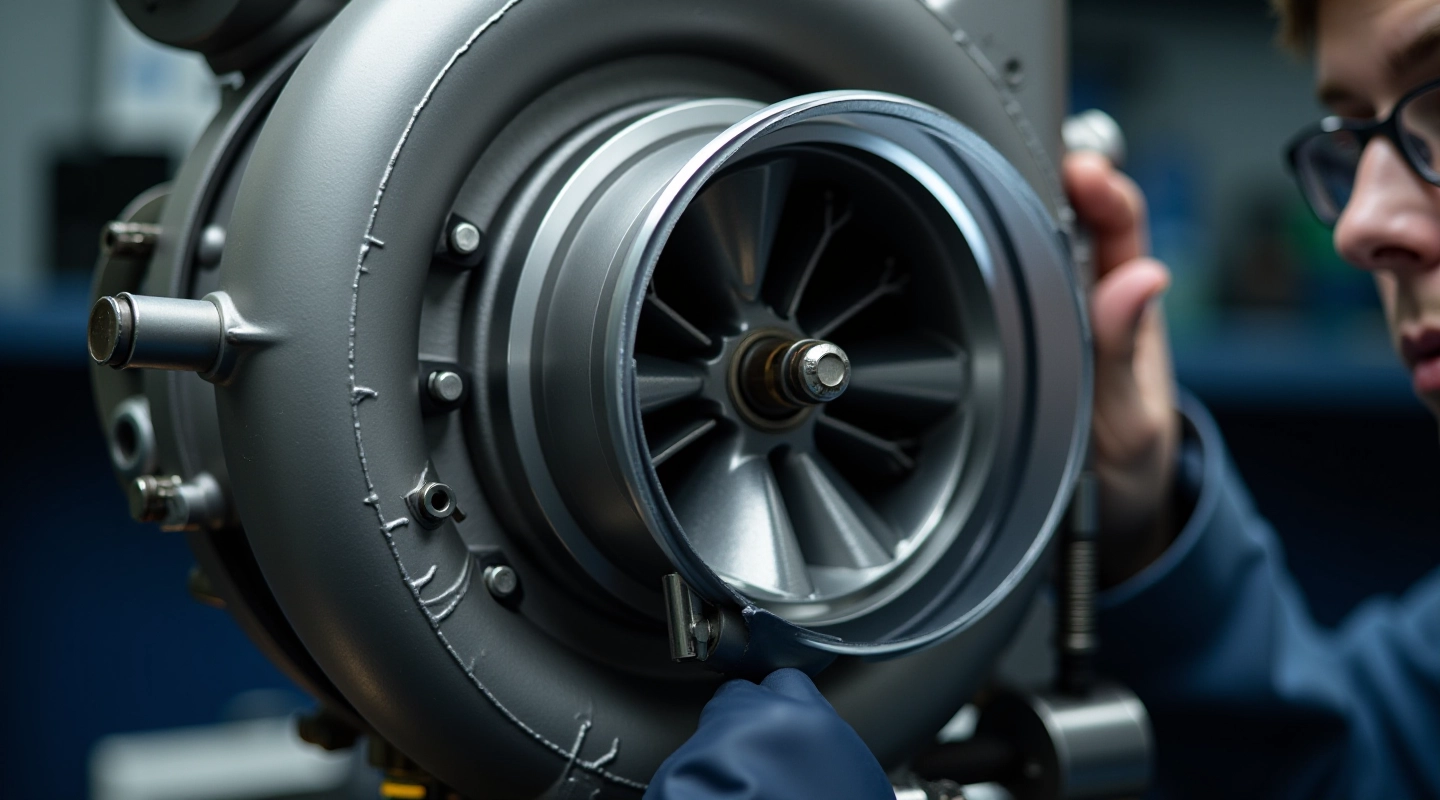
Understanding Turbocharger Cartridge Components
What's inside a turbo cartridge and why each part matters. Covers rotors, bearings, seals, and the center housing that holds everything together.
The actual rebuild procedure from disassembly to reassembly. What technicians do during a cartridge overhaul and why each step matters.
Author
Editorial Team
Written by the nexoworks Editorial Team, focused on honest, practical guidance for turbocharger service and diagnostics.
A cartridge rebuild isn't magic — it's methodical work. Every step follows a purpose. You're taking a worn component and restoring it to near-original condition. That means careful disassembly, thorough cleaning, precise measurement, and selective replacement of damaged parts.
The process typically takes 6-8 hours for an experienced technician. It's not rushed. Each phase builds on the last one, and cutting corners shows up quickly when you reassemble everything. We've seen too many failed rebuilds from shops that skipped inspection steps or reused parts that should've been replaced.
Here's what actually happens during a rebuild, step by step.

We break the rebuild into five distinct phases. Each one matters.
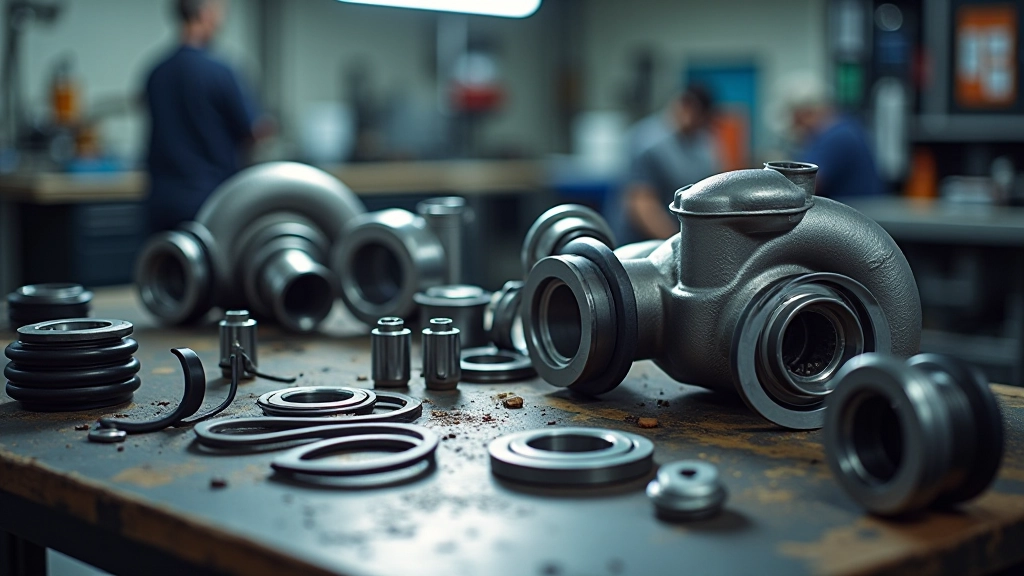
First, you remove every bolt and fastener. The center housing comes off. The rotor assembly comes out. You're separating the turbine wheel from the compressor wheel, removing the bearing journal, and laying out 20+ individual parts on a clean mat.
This is where problems reveal themselves. We look for blade damage, cracking, scoring, heat discoloration. If the rotor shows blue heat staining or micro-fractures, that cartridge isn't salvageable — no amount of rebuilding fixes structural failure. We're honest about that upfront. But if the rotor looks solid, you're moving to the next phase.
Every part goes into the ultrasonic cleaner. We're removing carbon buildup, oil residue, and corrosion. This isn't a quick rinse — it's 30-45 minutes in heated cleaning solution, followed by hand scrubbing of stubborn deposits and a final rinse in fresh solvent.
The center housing gets special attention. Carbon gets baked onto bearing surfaces during operation, and you need it completely clean to see the actual metal condition underneath. Once everything's dry, we inspect each part under bright light with magnification. Any remaining scoring or wear becomes visible now.
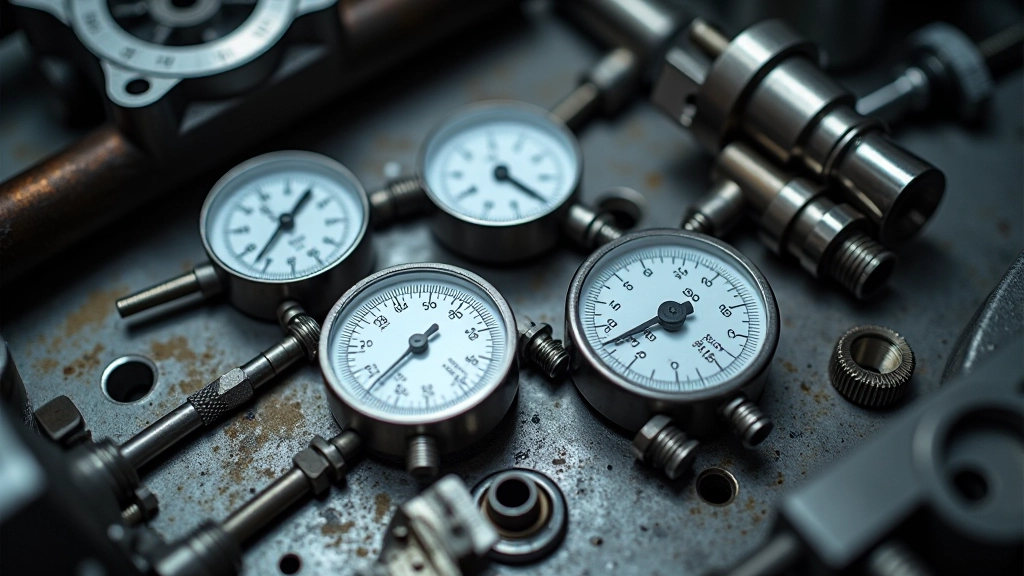
Out come the calipers, bore gauges, and runout indicators. We're measuring bearing clearances — typically 0.05-0.08mm for journal bearings. Rotor runout gets checked with dial indicators. Shaft straightness matters; even 0.02mm of bend can cause friction and premature wear.
We compare measurements against OEM specifications. If clearances are within spec, those components stay. If they're outside limits, they get replaced. This is where a rebuild differs from a cheap "refresh" — we're not guessing. We're measuring and deciding based on actual data.
Some parts always get replaced. Seals, gaskets, and thrust bearings wear predictably — they're inexpensive and critical for reliability. You don't reuse them. We install new oil seals, new carbon seals if needed, and fresh gasket material.
Bearing journals might stay if they're within spec, but we'll replace them if there's any visible pitting or wear. The rotor assembly usually stays if the blades are intact and runout is good. New fasteners go in — we don't reuse stress-fatigued bolts. The entire assembly gets new high-temperature lubricant rated for turbo operating conditions.
Reassembly is the reverse of disassembly, but slower and more careful. Bearing journals slide onto the shaft with light hand pressure — if there's excessive resistance, something's wrong. The rotor assembly goes in with exact alignment. Fasteners get tightened to specification, not guesswork. We're talking 25-30 Nm for most bolts — get it wrong and you crack the housing.
Once assembled, the cartridge spins freely by hand. No grinding, no sticking, no resistance. We check boost response with a manual actuator if it's included. Everything should operate smoothly. If something feels off, we disassemble and find the problem before the cartridge leaves the workshop.
You might think some of these steps are overkill. They're not. We've seen rebuilt cartridges fail within weeks because a shop skipped proper cleaning or didn't measure clearances. Carbon buildup reduces oil flow, causing bearing starvation. Loose tolerances create play in the rotor, leading to rubbing and damage.
The measurement phase separates real rebuilds from cosmetic repairs. It's where we decide what stays and what gets replaced. Rushing this part means you'll get parts failures sooner rather than later. Taking time here extends cartridge life significantly.
Reassembly alignment and fastener torque matter too. A rotor that's even slightly misaligned will vibrate. That vibration becomes wear. Bolts that aren't properly tightened can loosen, causing catastrophic failure. We take these details seriously because they're not details — they're fundamental to reliability.
The whole process takes a full day or sometimes longer. That's not inefficiency. That's the time required to do it right.
You can tell the difference between a proper rebuild and a rushed job by a few markers. A well-rebuilt cartridge spins smoothly with no resistance or grinding sounds. The boost response feels consistent — no hesitation or lag. Oil passages are clean inside, not clogged with carbon.
You'll get documentation showing what was measured, what was replaced, and why. We provide before-and-after photos of critical components. That transparency matters. If something fails after a rebuild, you know exactly what was done and can trace the problem logically.
Proper rebuilds carry a warranty — typically 12 months or 20,000 km. That's our confidence in the work. We wouldn't stand behind it if we were cutting corners.
The cost of a proper rebuild is higher than a quick fix because it takes time, precision equipment, and expertise. But it's still far cheaper than replacing the entire turbo, and you get a cartridge that'll last years, not weeks.
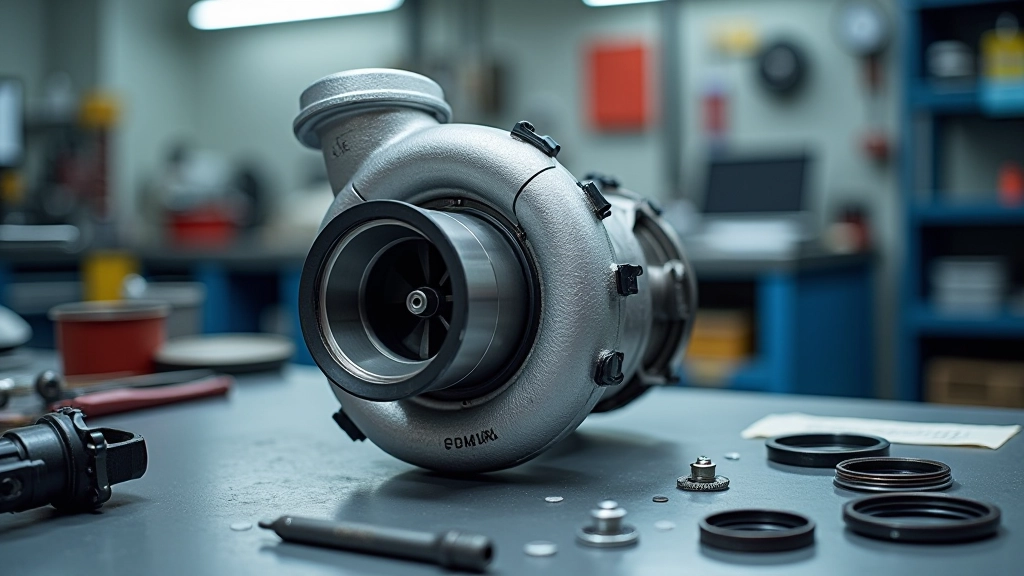
A cartridge rebuild isn't quick work. It's five distinct phases that can't be rushed without consequences. From careful disassembly through precision measurement to proper reassembly, every step serves a purpose. That's what separates a rebuild that lasts from one that fails.
If you're considering a rebuild for your turbo, make sure whoever does the work follows these steps properly. Ask questions about their process. Request documentation of measurements. Understand what gets replaced and why. That's how you know you're getting a real rebuild, not just a quick fix with a nice label on it.
This article is informational only and describes general turbocharger rebuild procedures. Specific requirements and procedures vary by turbo model, engine application, and regional specifications. Always consult your vehicle's service manual and work with qualified technicians for your individual situation.
What's inside a turbo cartridge and why each part matters. Covers rotors, bearings, seals, and the center housing that holds everything together.

How to diagnose boost pressure issues without expensive equipment. Signs of problems and what they mean for your turbo's health.
What you can do between rebuilds to extend turbo life. Oil changes, filter replacement, and daily driving habits that matter.